
introduction: how can iron flecks and steel wool change the way you work with clay?
adding iron flecks or ground steel wool to your clay can bring surprising texture and visual interest to your pieces. it’s a simple shift, but it opens up a lot of creative possibilities. this post breaks down how to use these materials safely and what to expect from the results.
working with iron flecks and steel wool
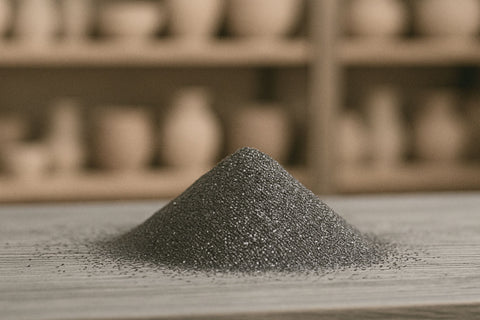
iron flecks:
iron has been used in pottery for ages. when you mix iron flecks into your clay body, they show up as specks after firing - usually in rust-colored tones that stand out against the base clay. they’re subtle, but they give the finished piece extra depth.
steel wool:
steel wool isn’t a traditional material in pottery, but it can create a rougher texture and add a metallic feel once it oxidizes in the kiln. you don’t have to grind it into powder - just cut it into smaller bits that can mix well with the clay.

how to prep steel wool for clay
-
choose a fine grade
a fine grade of steel wool is easier to break down and mix evenly. -
break it apart manually
put on work gloves and pull the wool apart by hand. scissors or wire cutters work well for cutting smaller pieces. -
optional: pre-rust it
some potters rust the steel wool first for extra color or texture. soak it in vinegar and salt, then leave it out to dry. once dry, it starts to crumble and is easier to work with. -
mix into clay
add your steel wool while wedging to make sure it’s spread out evenly. how much you add depends on the look you’re going for. -
safety
always wear a dust mask and gloves when handling steel wool - especially rusted or fine pieces. work in a ventilated area.
a quick note about the type of steel wool you’re using
avoid anything galvanized. galvanized steel has a zinc coating that can release toxic fumes in the kiln. most steel wool is plain carbon or stainless steel, but it’s always worth checking the label.

the process
-
prep your materials: whether you’re using iron flecks or steel wool, get the texture right for your goal.
-
mix with clay: wedge it in like you would with grog or sand.
-
build your piece: you can throw or handbuild as usual - the clay should behave pretty normally.
-
dry and bisque fire: the metal starts to react here.
-
optional glaze: if you want the specks to show through, use a transparent or light glaze.
-
final fire: this brings out the texture and color of the metal even more.

tips + things to keep in mind
-
test first: every clay body and kiln is different—run a test before committing to a big batch.
-
gloves + masks: especially important when working with rusted material.
-
experiment with how much: a little goes a long way, but adding more gives a bolder effect.
-
watch how glazes react: some glazes may behave unpredictably with metal particles.
conclusion
using iron flecks or steel wool is an easy way to bring more character to your work. it’s not complicated, but it adds something extra - especially if you’re looking to try something new without changing your whole process. worth experimenting with when you’re in the mood to shake things up a bit.

